Painting your own home might seem like an uphill task, but if it is done correctly you could actually have fun time with your loved ones in the process. After all painting is pretty painless, relatively inexpensive – compared to hiring a professional, and if it’s not going your way, it’s an easy fix.
However, before you grab your roller and get started with your first coat, read on how you should kick start your painting project.
1. Plan ahead
Think about the function of the room and how you want your room to look like by the end of the project. Decide if you want to implement certain style to your room and adjust the choice of paint colour accordingly. Consider having an accent wall and check your ceiling to see if it needs a refresh look as well.
2. Decide on your choice of paint colour
Painting a new house is easier than you think. You can choose your paint colour freely as you basically painting on an empty canvas. You should think of how the ambiance should be in your home or in your specific room, choose colour that matches your design style, for example, it’s minimalist, you should go for a neutral, soft and light colours, but if you want a bit bold you could choose darker or warmer hues for your room. Find out more in our previous post here!
If you’re doing a home improvement or just repainting your room, you should take your existing furniture or arts into consideration. Make sure that your paint colour matches the theme that you currently have for your room.
To eliminate the unwanted things of having wrong colours, you can use Alora Paint’s Sample Swatch before buying the whole bucket, so you can visualise directly, how the paint will look like in your room and good thing is, our Sample Swatch is made from real paint!
Check out our sample swatch here!
3. Get your tools & material
The right materials and tools will ease your painting project. Choose a high-quality paint with no odour and near zero VOC, so even your little ones can be involved in your project. Check out our double green certified paints here.
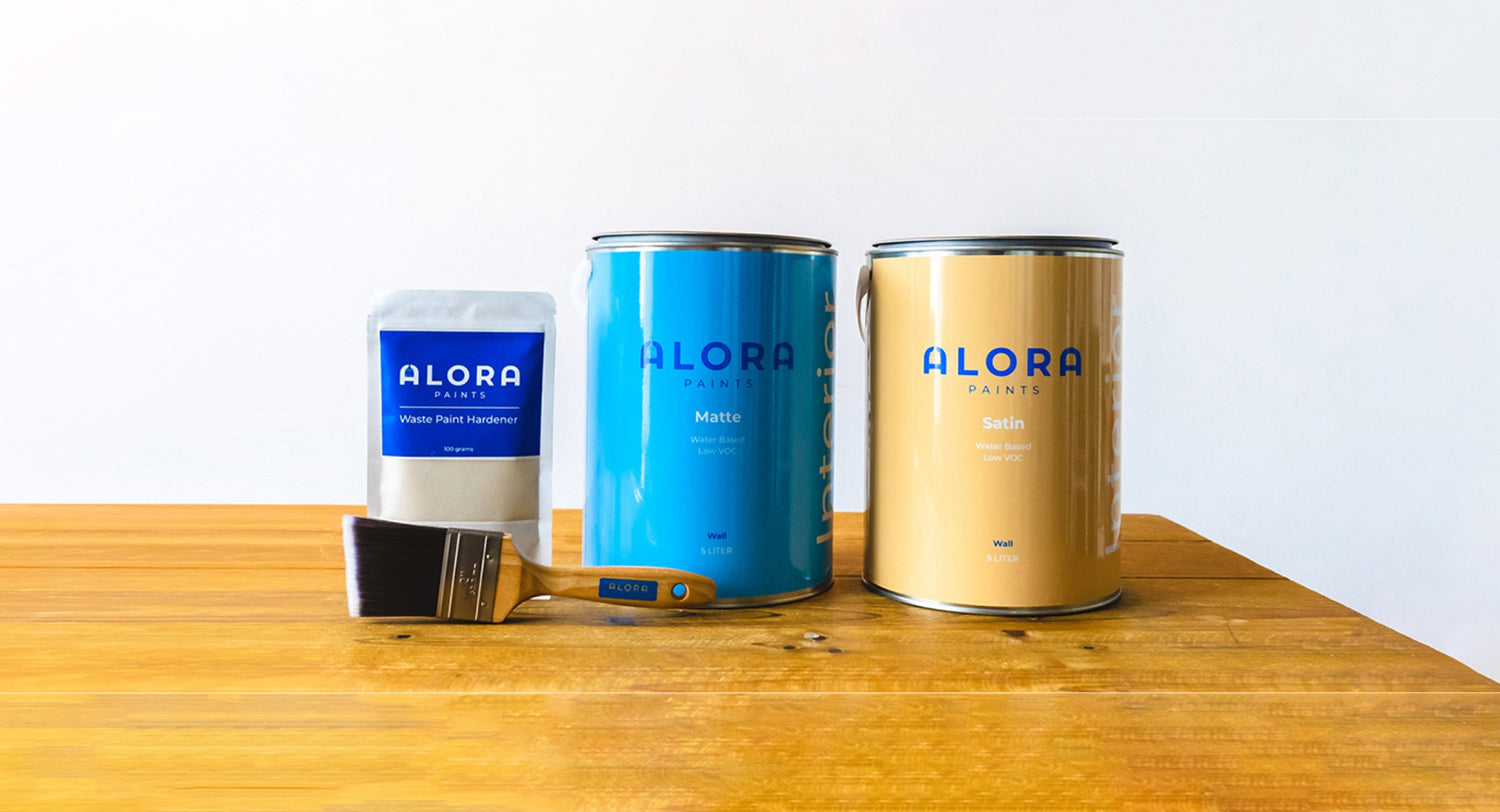
Do not take lightly the tools you’re using when applying paints. A good paint roller will save you both time and money from using too much paint. As we offer hassle free solution for your DIY project, check out our painting tools here and you can also get our bundle package (paints & tools) and have it delivered to your doorstep!
4. Calculate how much paint you need
Do not waste your money by ordering too many paints for your project. Measure your home or room and use our paint calculator to see how much paint you need.
Click here to use our paint calculator.
Click here to use our paint calculator.
5. Prep the room, the walls and get started
- To avoid any damage or spillage on your beloved sofa or your floor, move all your furniture to the centre of the room and cover them with drop cloth or plastic sheet and do the same to your floor.
- If needed fill a bucket with water and some general-purpose cleaner. Damp a sponge in the solution and clean the walls. Let them dry.
- Fill any nail holes or dents in the wall with speckling compound, smoothing it with a putty knife. Allow the repaired areas to dry, then smooth them with fine-grit sandpaper. Wipe with a slightly damp microfiber cloth to remove any dust.
- Protect any surface next to the walls with painter’s tape, including the ceiling, windows, door frames, baseboards, and any other trim.
- Pour paint into the tray directly, no need to mix it with water or thinner, as Alora Paints are ready-to-use.
- Dip paint brush into the tray until the bottom half of the bristles is coated. Let the excess paint to drip back into the tray. Start painting the top of wall, paint 2 – 3-inch strip next to the painter’s tape. Do the same in all the corners and next to all the trim.
- Wet the paint roller slightly and glide it over the surface of the paint in the tray, then pull it backward along the tray’s grate. The roller should be fully saturated but not dripping when you take it to the wall.
- Start painting next to one of the corners. Release most of the paint by painting in a zigzag shape about 3 feet wide. Roll the roller with up-and-down strokes over the paint.
- Open your windows for ventilation so that the paint dry faster.
- Allow the paint to dry for about 2 hours before re-coating them.
6. Clean up
Don’t rest just yet, as you still have to clean up your home. Remove all the painter’s tape and gather all the drip cloths. Do make sure that any spill or splatters are dry. Wash painting tools in warm soapy water immediately after use.
Do think about the environment and do not dispose any leftover paint in drains, sinks, water sources, or any other place that may pollute. Leftover Alora Paints can be disposed of in household trash once the paint is mixed with Alora Disposal Hardener. Never dispose of liquid paint in household trash and consider donating leftover paint to a local community group or recycle leftover paint if a program is available in your area. Dry, empty containers may be recycled in a can recycling program.


